
What Makes Wrinkle Retouching Look Natural Rather Than Artificial?
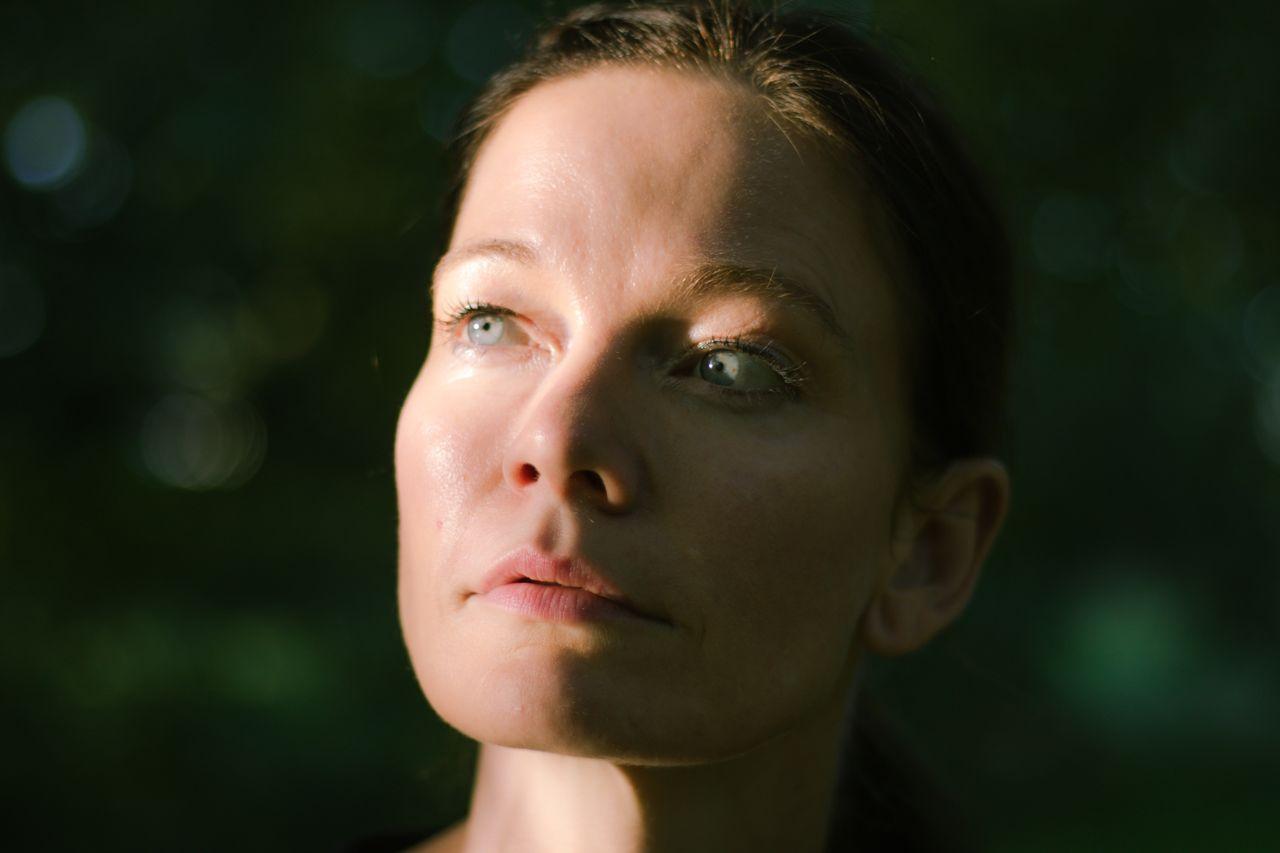
Natural wrinkle retouching does not erase age or expression. It reduces details that look stronger in a photo than they did in real life, while keeping the face recognizable. The difference is usually in restraint: skin should still have texture, light should still shape the features, and expression lines should continue to move naturally with the smile or gaze.
If a portrait needs a softer finish, the wrinkle editing tools available at https://retouchme.com/service/wrinkle-remover-app can help refine selected areas without smoothing the whole face. The most convincing result comes from treating wrinkles as part of the portrait, not as something that must disappear completely.
Keep Texture Visible
Real skin has pores, fine lines, highlights, and small differences in tone. When all of that is removed, the face can start to look flat or waxy. Instead of blurring a large area, soften only the lines that feel unusually strong because of lighting or camera sharpness.
Useful corrections may include:
- reducing a deep shadow inside one line;
- softening a crease that looks harsher than it did in person;
- balancing uneven tone around the eye area;
- correcting a small patch of redness;
- keeping nearby pores and fine texture intact.
This helps the edited area blend with the rest of the skin.
Preserve Expression Lines
Some lines appear because the face is moving. A real smile lifts the cheeks, narrows the eyes slightly, and creates small creases around them. Removing all of those details can make the expression feel frozen.
When editing a smiling portrait, keep enough of the original lines to support the emotion. The goal is to make the skin look fresher, not to disconnect the expression from the face.
Match the Light and Shadows
Wrinkles are partly visible because of shadow. If a line is softened but the surrounding light no longer makes sense, the edit can look artificial. Keep the original direction of light in mind and avoid flattening the forehead, cheeks, or eye area.
A better photo also reduces the need for correction. Soft daylight from a window, open shade outdoors, and a camera near eye level usually create gentler shadows than direct flash or strong overhead light. Before shooting, relax your forehead and jaw so tension does not create lines that feel stronger in final frame.
Check the Whole Face Before Saving
Zooming in helps with precision, but final judgment should happen at normal viewing size. Compare the edited portrait with the original and look for consistency between the forehead, eye area, cheeks, and neck.
If one area looks much smoother than everything around it, reduce the effect. Natural retouching works best when no single correction attracts attention.
Wrinkle editing looks believable when it respects texture, expression, and light. The aim is not perfectly smooth skin. It is a portrait that feels polished while still showing the details that make the person look alive, familiar, and real.